Add Office 365 Email to Outlook 2013 – What Can You Do About It
Summary: Looking for a way to add Office 365 email to Outlook 2013 Mac? Still confused about where to begin! Read this step-wise solution to know about both the manual and third-party tool to export Office 365 emails to Outlook 2013 just in few minutes.
Add Office 365 email to Outlook 2013 is not a difficult task but many people get stuck while executing the solution. Therefore, this article will let you know how simply one can export Office 365 emails to Outlook 2013, 2016, 2019 without any trouble. Here we will describe the working of both manual and automated solutions to do so.
Manual Method to Export Office 365 Emails to PST
You can easily add Office 365 email to Outlook 2013 by simply just configuring Office 365 account with MS Outlook desktop application. Follow the simple steps to know this in detail.
Step 1: Download and Run Office 365 Desktop Tool
- Download and Install Microsoft Desktop Setup software
- Log in to the application by entering your username and password of your Office 365 account
- Then, select Microsoft Outlook and hit the continue button
- Now, Read the terms and conditions and accept them accordingly
- Click on the Finish button
Step 2: Add Office 365 Email to Outlook 2013
- Open MS Outlook then navigate to E-mail Accounts Page
- Hit the Next button to set up an email account
- Afterward, select Auto Account Setup to configure the MS Outlook account automatically
- Hit the Finish button to complete the process
A two-step process to add Office 365 emails to Outlook 2013 using the manual method. Now read the upcoming section to know the working of a third-party tool that is more simple and reliable than the manual method.
Automated Tool to Export Office 365 Emails to Outlook 2013
A professional tool that will assist you to simply add Office 365 email to Outlook 2013 without any trouble. The tool has so many features that enhance the user experience and user-friendly tool that enables a non-technical guy to execute such tasks.
Steps to Add Office 365 Emails using Automated Tool
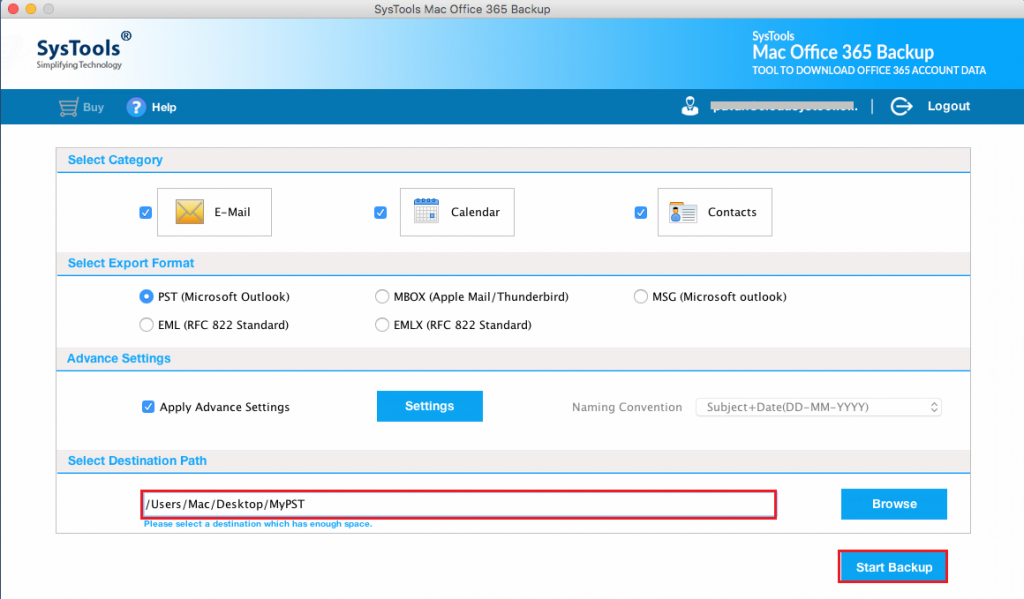
- Download and Install Office 365 Backup Tool
- Enter the Office 365 account details to the software

- Locate the PST file format from the Tool

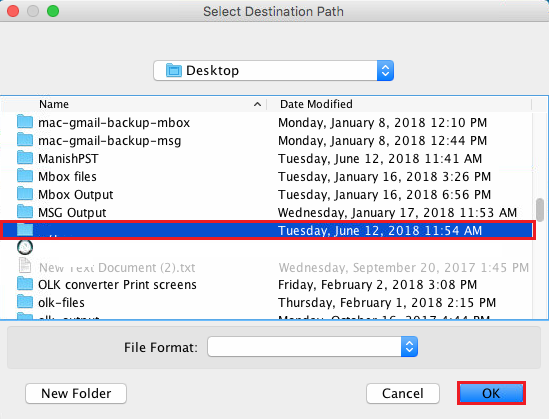
- Now, browse the destination folder to preserve the PST file

- Hit the Start Backup button to initiate the process

Once the tool finished the process go to the location and access the import the PST file to Outlook 2013 by following the simple steps mentioned below.
Import PST file to Outlook 2013
- Open MS Outlook 2013,2016,2019 in Windows OS
- From the File menu hit the Import/Export option to add PST file
- Now, click on import from another file and browse the PST file
- Hit the finish button to initiate the process
This is how one can easily add Office 365 email to Outlook 2013 using this automated tool. The software has many additional features as we talk above to know them to read the upcoming section.
Characteristics of Office 365 Tool
- Assist you to export Office 365 emails, contacts, calendar into 5+ file formats
- No file size limitation one can export multiple files using this tool
- Authorize you to pause and resume the ongoing process
- Keep original folder hierarchy throughout the process
- Pause and Resume the ongoing backup process accordingly
- Supports incremental backup option to export only newly arrived emails to reduce the duplicity issues
Warping Up
Emails play a major role while working for an IT company whereas to add Office 365 email to Outlook 2013 is not a difficult task if you choose an automated solution over the manual method because the manual process has its limitation like it is very time-consuming and doesn’t authorize you to export multiple Office 365 files to Outlook 2013,2016,2019 in single attempt also it is quite difficult for the non-technical user. Whereas the automated tool is the standalone application doesn’t need any supportive tool to export Office 365 mailbox to PST format. Users can also download the demo version of the tool from the site.


