Import Exchange to Office 365 via Hybrid Migration O365 Procedure


Microsoft had launched a cloud-based email client i.e., Office 365. In today’s date, the majority of organizations are using on-premise email applications and they require solutions by which they can switch to Exchange online services. Performing such switching operation is not an easy task because it is time consuming as well as need a lot of expert knowledge. Therefore, in the following section, we are going to find the need to perform Exchange to Office 365 migration and import Exchange to Office 365 via Hybrid migration process.

Reasons to Perform Exchange to Office 365 Migration
One of the primary cause of migration is handling and controlling files on the Exchange server. It becomes difficult for a normal end user to tackle files on the local machine. In addition, the maintenance cost of the server becomes challenging in order to provide 100% performance to its users. Switching from on-premises environment to Exchange Online platform provides many advantages to end users and some of them are mentioned below:
- Microsoft Office 365 renders its users more availability without spending anything on its infrastructure. One just needs to purchase email accounts for new clients and rest all are easily managed.
- O365 is considered as a cost-effective email client because it does not require any additional maintenance charges and is available anytime whenever required.
- Office 365 provides high security of data on the Microsoft cloud. Their users need not worry about any data loss because of the reasons like sudden disasters or any technical faults.
Solution to Import Exchange to Office 365
As there are various solutions available for the users to perform the migration process. But many experts recommend users to use the third-party application offered by SysTools to transfer their data from Exchange Server. It makes the entire process efficient and makes the task hassle-free. Additionally, the option of concurrent migration enables organizations to execute the process in batches.
How to Import Exchange Mailbox to Microsoft Office 365
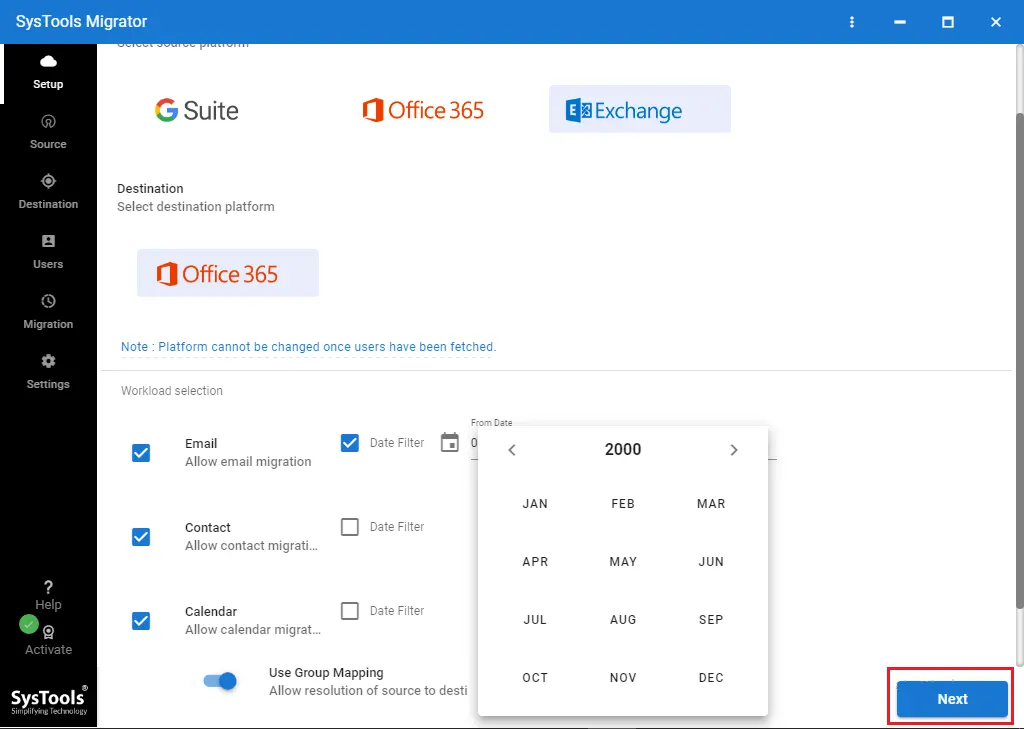
- Download the Tool and Select Source & Destination Platforms on Setup Screen.

- Select Categories under Workload Selection and Apply Date Filter if required.
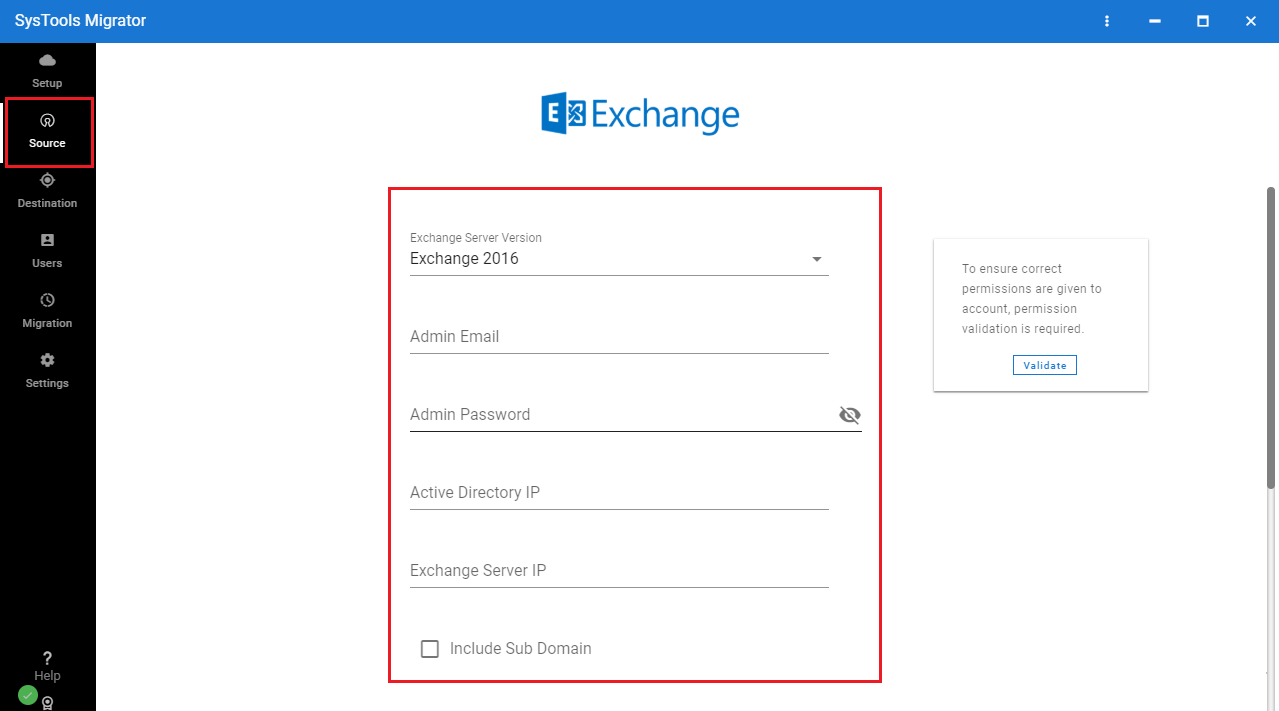
- Enter correct Exchange Server details in all fields and click on Validate button.
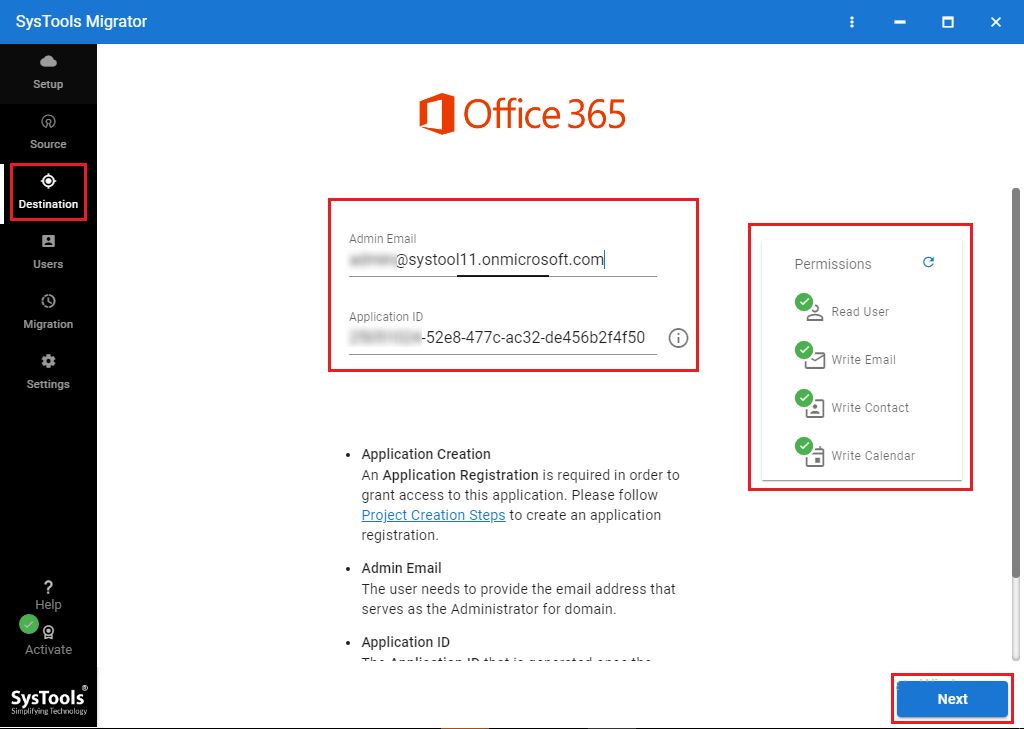
- Now, enter Office 365 Admin email ID along with application ID and Validate it.
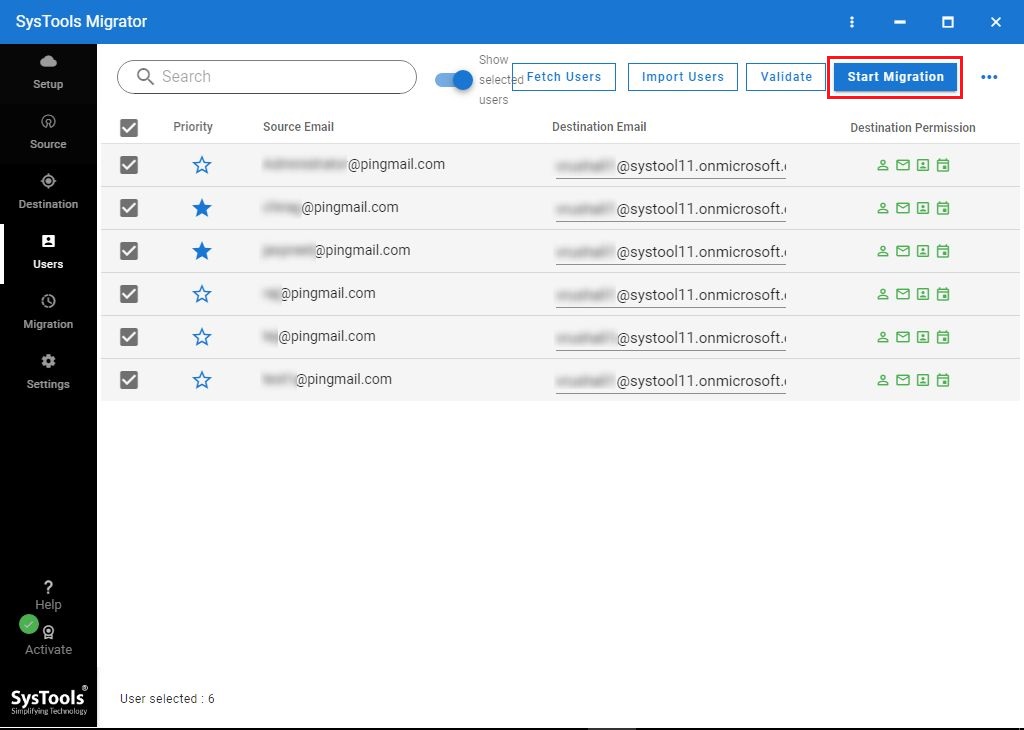
- Add Users into tool and Map mailboxes with Destination IDs.
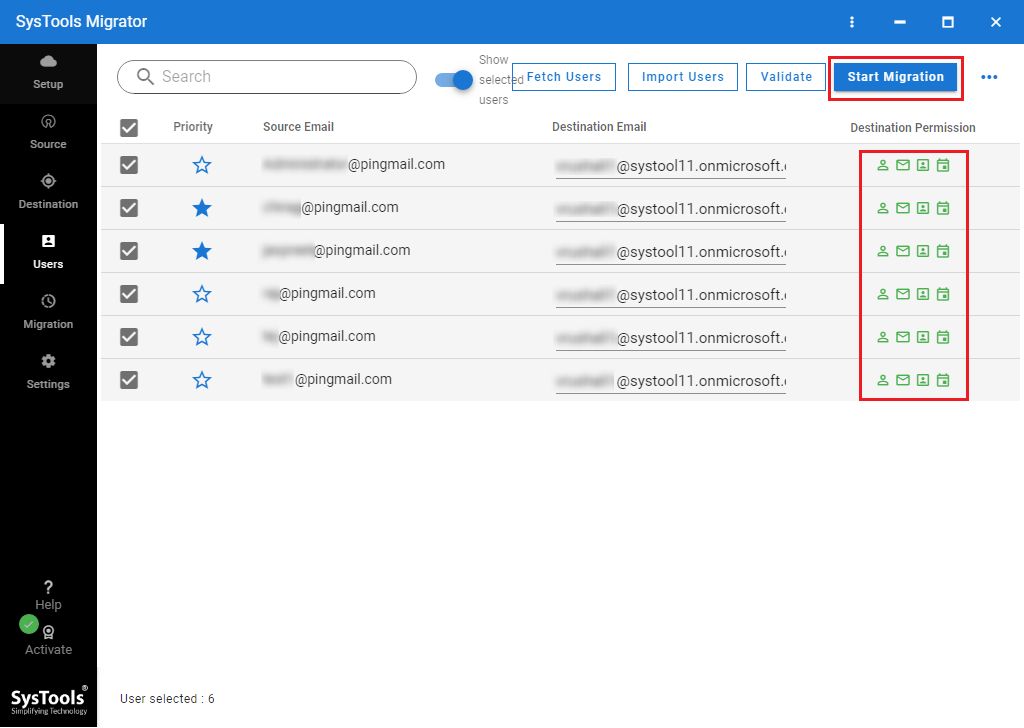
- Perform Validation and click Start Migration button to initiate the process.
Hybrid Migration
In order to perform data migration between the Exchange server and Office 365 account, a Hybrid migration O365 solution is provided to users. With the help of these techniques, a user will be able to perform Exchange On-Premise to Office 365 migration for switching to an Exchange online account. Hybrid migration O365 is a five-step procedure to import Exchange to Office 365. Go through following instructions to find Hybrid migration in the step-by-step scenario:
Step #1: Discover a Migration Endpoint
First of all, one needs to determine the Exchange remote migration endpoints. These migration endpoints comprise of the connection settings for an on-premises Exchange server, which is currently accessing the MRS proxy service. This service is required for automatically performing migration from or to the Exchange online.
Step #2: Open the MRSProxy Service
In case, the MRSProxy service is disabled for your Exchange 2013 on-premises client access servers then, you need to follow below-given instructions in the Exchange admin center (EAC):
- Launch Exchange admin center and then go to Servers >> Virtual Directories
- Click on Client Access Server >> EWS virtual directory and click on Edit
- Check the checkbox of MRS Proxy to activate it and click on Save to finally update the changes made in the server settings
Step #3: Move Mailboxes by Using EAC
You will be able to move data from Exhcange mailbox to Office 365 account by performing on-premises mailbox to Exchange online migration with help of following instructions:
- Launch the Exchange admin center and go to Office 365 >> Recipients >> Migration
- Click on Add + button and select Migrate to Exchange Online
- In select a migration type page, click on Remote move migration and click Next
- On the current screen, click on Add + button and highlight an on-premises user for moving data to Office 365.
- Click on Add >> OK >> Next to proceed further
- In the credential page, mention required details of an on-premises administrator including his name and password and hit on Next button
Note: If you have successfully discovered migration endpoints then, you are going to receive a confirmation page after entering the credentials.
- A confirm the migration endpoint page opens that will verify the FDQN of on-premises Exchange server, hit on Next to continue.
- Mention the name of migration batch in the required text field and operate down arrow for searching and selecting Target delivery domain for the mailboxes that are migrating to Office 365. It is the basic SMTP domain generally used for Office 365 mailboxes. Take a look that Move primary mailbox along with archive mailbox option is enabled and click Next
- Choose at least one recipient from the current page and with help of this you are going to receive a complete batch report. Examine that automatically start the batch option is enabled and then check automatically complete the migration batch option. Click on New button and proceed to next step
Step #4: Eliminate Completed Migration Batches
In order to minimize errors likelihood, it is a recommendation that you should delete completed batches of the migration procedure. For doing so, follow below-mentioned instructions:
- Open EAC and move towards Office 365 >> Recipients >> Migration
- Hit on the completed migration batch and then click on Delete button
- A confirmation dialog box will appear in which you have to click on Yes for the completion
Step #5: Set Offline Mode of Outlook on The Web
Users can access their mailboxes even in absence of any network by enabling offline mode in OWA. One needs to reset the settings of offline access in their web browser for using Outlook on the web in an offline state.
Step #6: Confirm Exchange to Office 365 Migration
After completion of all the above steps, users need to see whether the procedure worked or not. The successful completion will indicate that migrating mailboxes is done as per requirements. Since the process migration gets completed after a certain time duration, therefore, you can verify working by opening EAC and going to Office 365 >> Recipients >> Migration to see the status of the procedure. If you found Status as Syncing then it means that process is still going on and if it is Complete then it means that Exchange On-Premise to Office 365 migration is successfully completed.
Note: Step (6) is not a part of Hybrid migration O365 procedure. It is an additional procedure to check whether migration is performed successfully or not. If still, you are unable to import Exchange Server to Office 365, must use Exchange to Office 365 migrator tool.
Conclusion
Hybrid migration is the only manual approach by which one can perform Exchange to Office 365 migration. If in case you are facing any problem to import process then, you can put your comment below we are here to help you out.