How to Mount Disk Image File in Windows?


Mount disk image file means that the user can normally access it on the same computer as the C drive. This is a software process that makes the disk images readable on the platforms of the operating system. Although disk image files are not physical disks on a computer, they are logical disks. Therefore, you must mount and recognize the disk image files. Hard disk image files such as DD, E01, LEF, DMG, ISO, IMG are hard disk data image formats. In this blog, we are going to discuss the reliable solution to mount disk image files in Windows and other OS.
If you disable the disk image file on the other side of the media, you will not be able to access it from your computer. In the section below, we will know why the user needs to mount the disk image file.
Why Need to Mount Disk Image File?
1. Data Extraction: As the end-user, we need to extract data from the supplied disk image files. Third-party tools make it easy to open and read disk image files on Windows, Mac, Linux, and other operating systems.
2. Obtaining Evidence: If the evidence is on a hard drive, it is usually possible to create a replica image of the hard drive instead of a full physical hard drive and collect it as evidence.
You May Also Like:
Manual Method to Mount Disk Image File
Users can easily deploy the disk image file on Windows, Mac, Linux and other operating systems. They can access disk image files from their local computer using inbuilt or third-party tools. This section describes how to deploy a disk image file on all operating systems.
Mount Disk Image File in Windows:
On Windows, you can provide any version of the disk image file (.iso, .img, .e01, .lef, etc.). Follow the steps below.
- Select the disk image file that is to be mounted.
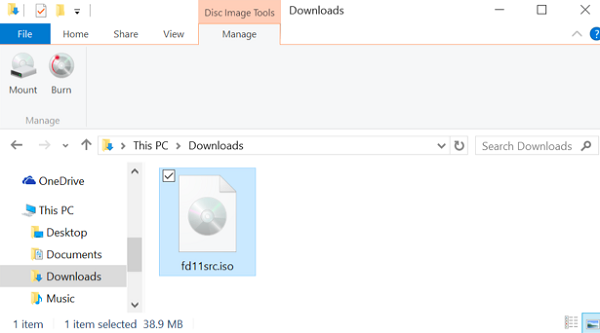
- Right-click on the choose file and hit on Mount Disk Image Option.
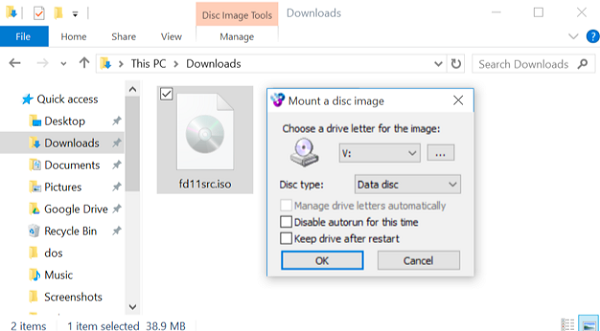
- Finally, you can access the disk image file on Windows OS.
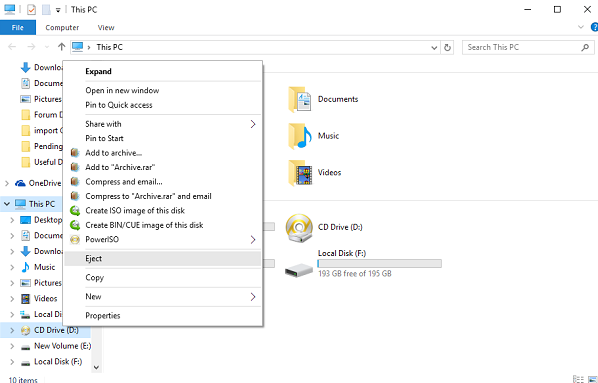
- To unmount disk image file, right-click the virtual drive and select the Eject option from the list.
Mount Disc Image File on Mac OS:
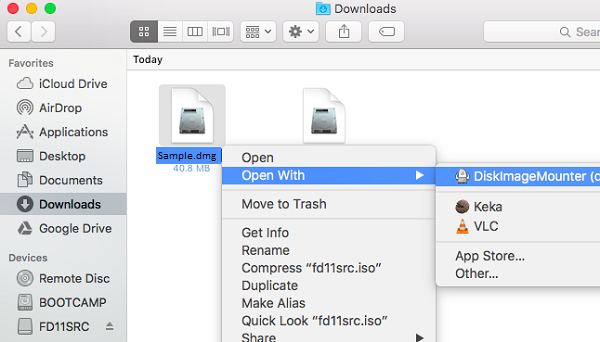
Mac OS offers two ways to create disk image files (for example dmg) using the inbuilt Tool.
- Select the disk image file and right on it. Open the file with the Disk image mounter.
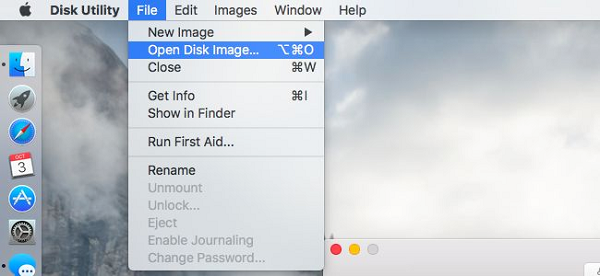
- To perform the second method, press Command + Space, type Disk Utility and press Enter. Click the File tab and select Open Disk Image.
If the user wants to unmount the disk image file, right-click on the virtual drive and select the eject option.
Mount the Disk Image File on Linux:
The Linux operating system offers two options for mounting disk image files (eg .dd) with the integrated tools and commands of “Archive Mounter”. Follow these steps for the same:
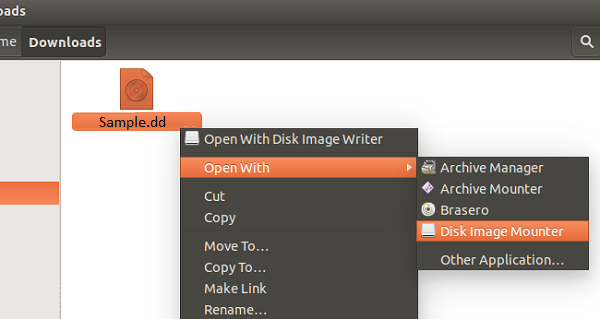
Select the disk image file to attach and right-click. Select Open with >> Disk Image Mounter
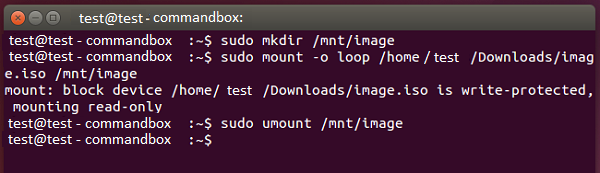
- Open a terminal window on the Linux desktop and enter the following command to attach the disk image File.
- To unmount the disk image file in Linux, right-click the virtual drive and select the eject option.
Final Words
In this article, users will learn what a disk image file is, need to mount it and how to mount disk image files in Windows. Here we described the step by step method that can the user use to easily deploy the disk image file on Windows, Linux, Mac operating systems. If you are unable to open disk image file due to any reason, you can use Free Disk Image Viewer. This freeware helps you to open, read and view disk image files with all attachments.