Exchange 2013/2010 – Move Mailbox from Dismounted Database Easily


There are times when it becomes necessary to dismount the Exchange database. It could be possible when there is a need of replacement of any hardware/software component or any server issues. When a user is trying to create an offline backup of the Exchange mailboxes, then he has to dismount the database and save the data to his hard drive. Now if user want to get those mailboxes in Exchange 2016 you have to move mailbox from dismounted database. Some users are facing issues in accessing their database after mounting it.
Before heading towards solution let’s go through user query:
“Hlo floks, due to some reason, I want to export my mailbox from dismounted DB to a new server. I am getting a problem in Exchange 2013 dismounted mailbox database. Please provide a solution to migrate Exchange mailbox to another server safely. Thanks in Advance!”
The above clearly states that user want to move their dismounted Exchange database mailbox to the new Exchange Server. However, apart from this query there are many other scenario for migration.
User can use the Exchange Database Recovery Tool as the advanced solution used by various IT Experts, Exchange and Naive users to mount the Exchange mailbox from the dismounted database by migrating it into the new Exchange Server.
Automated Wizard to Move Mailbox From Dismounted Database
Exchange Database Recovery tool is the professional software that supports and load dismounted/offline Exchange database file and can repair Exchange mailboxes. This utility easily extract mailboxes from dismounted Exchange database and export directly to the Live Exchange Server 2016, 2013, 2010 & below version.


The software provides Quick and Advance scan option that easily recovers & repair Exchange EDB file from corruption. If your Exchange database file have minimal corruption then you can select quick scan to remove it and if the .edb file is highly corrupted then go for advance scan mode option with data loss.
Automated software support public folders & private mailboxes. It is capable to export selective or entire Exchange mailboxes such as: user, shared, archive, legacy, disconnected and data items like – mails, calendars, contacts, journals, tasks, notes to Live Exchange Server, Office 365, and various file formats.
You can easily convert pub1.edb to PST along with private Exchange database file & save EDB to PST, EML, HTML, EML, MSG, MBOX file formats. After moving the Exchange 2010/2013 mailbox from dismounted database to the new server the tool auto-create the export report which stores the success and fail count of exported Exchange data.
Key Features Of Professional Software
- Quickly recover corrupt Exchange database file
- Recover purged Exchange mailboxes and items from offline/dismounted EDB file
- Preview Microsoft Exchange database mailbox data items before conversion
- Remove email (SMIME/OpenPGP) encryption in batch from Exchange EDB mailboxes
- Maintain original folder structure and keep metadata intact after conversion of Exchange data
- Export selective Exchange database data using date and categories filter option
- Suitable with Exchange Server & MS Outlook 2003 to 2019 versions and Windows OS – Vista, 7, 8, 8.1, 10
Stepwise Method to Move Mailbox from Dismounted Database
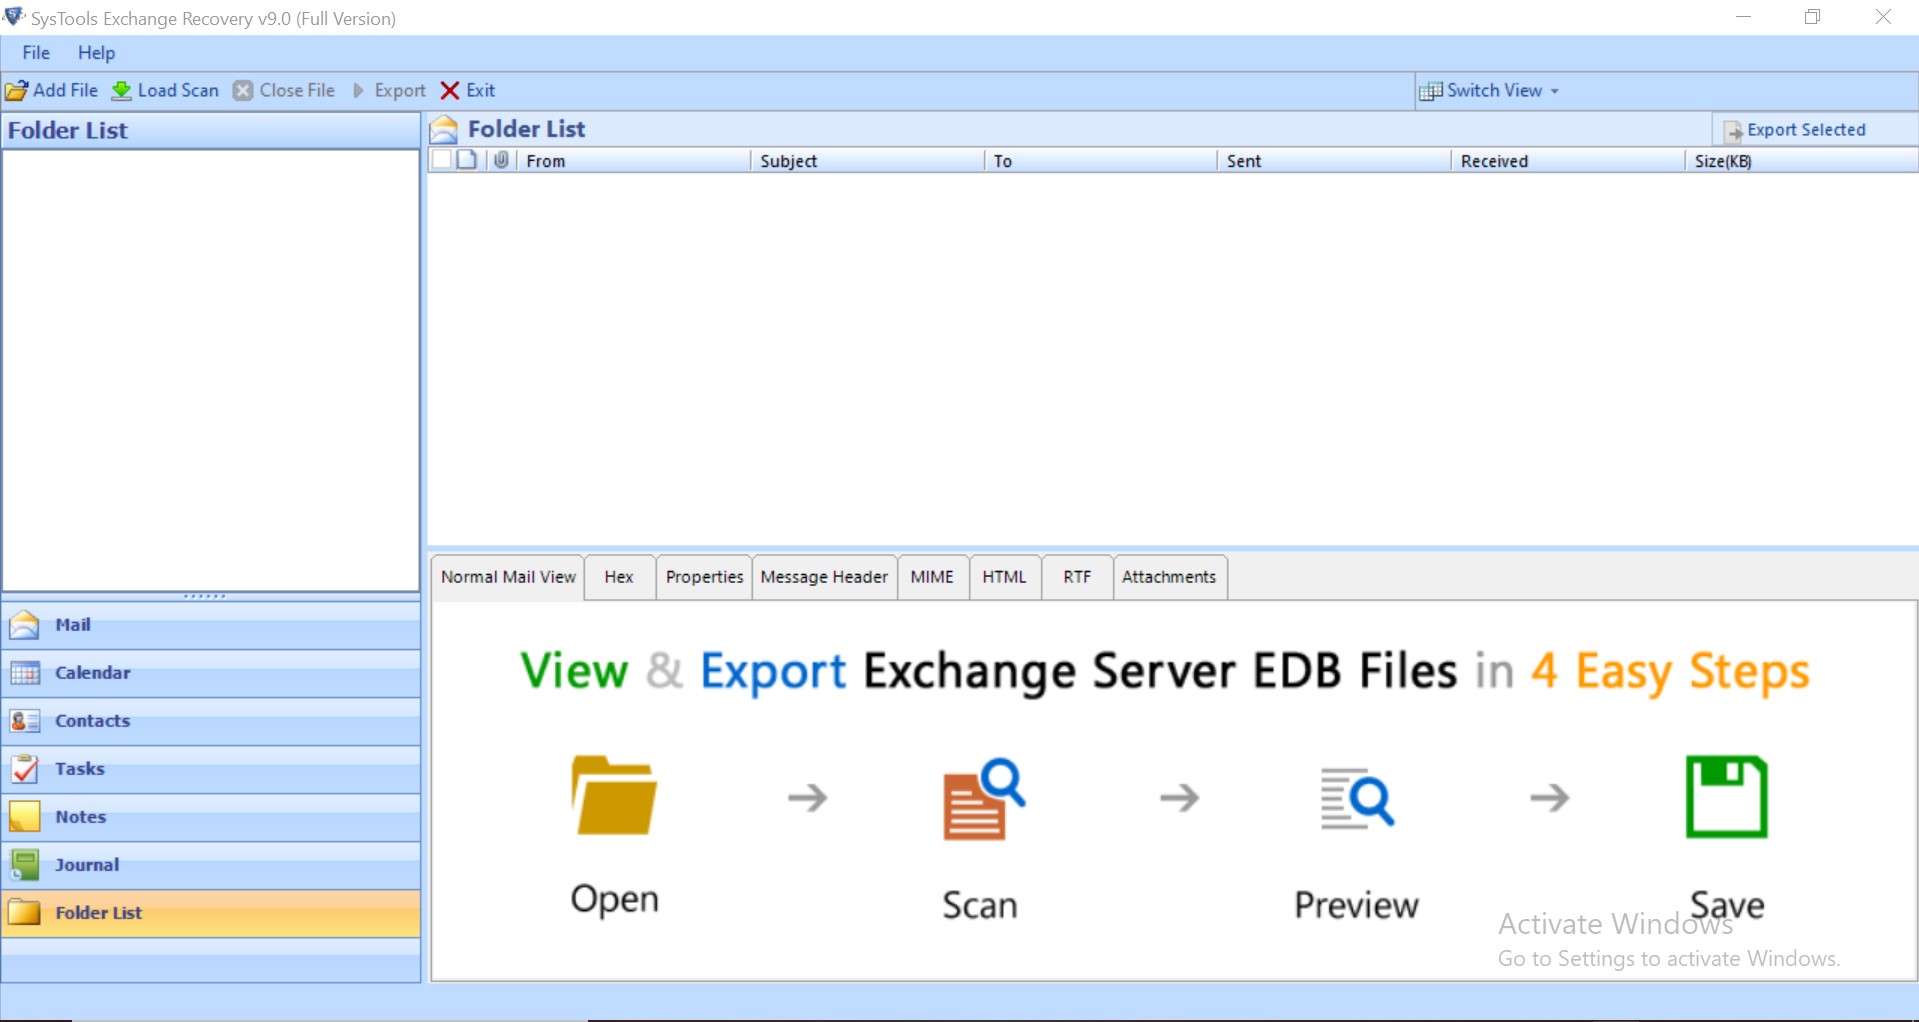
Step 1: Download the automated software and Launch into Windows system
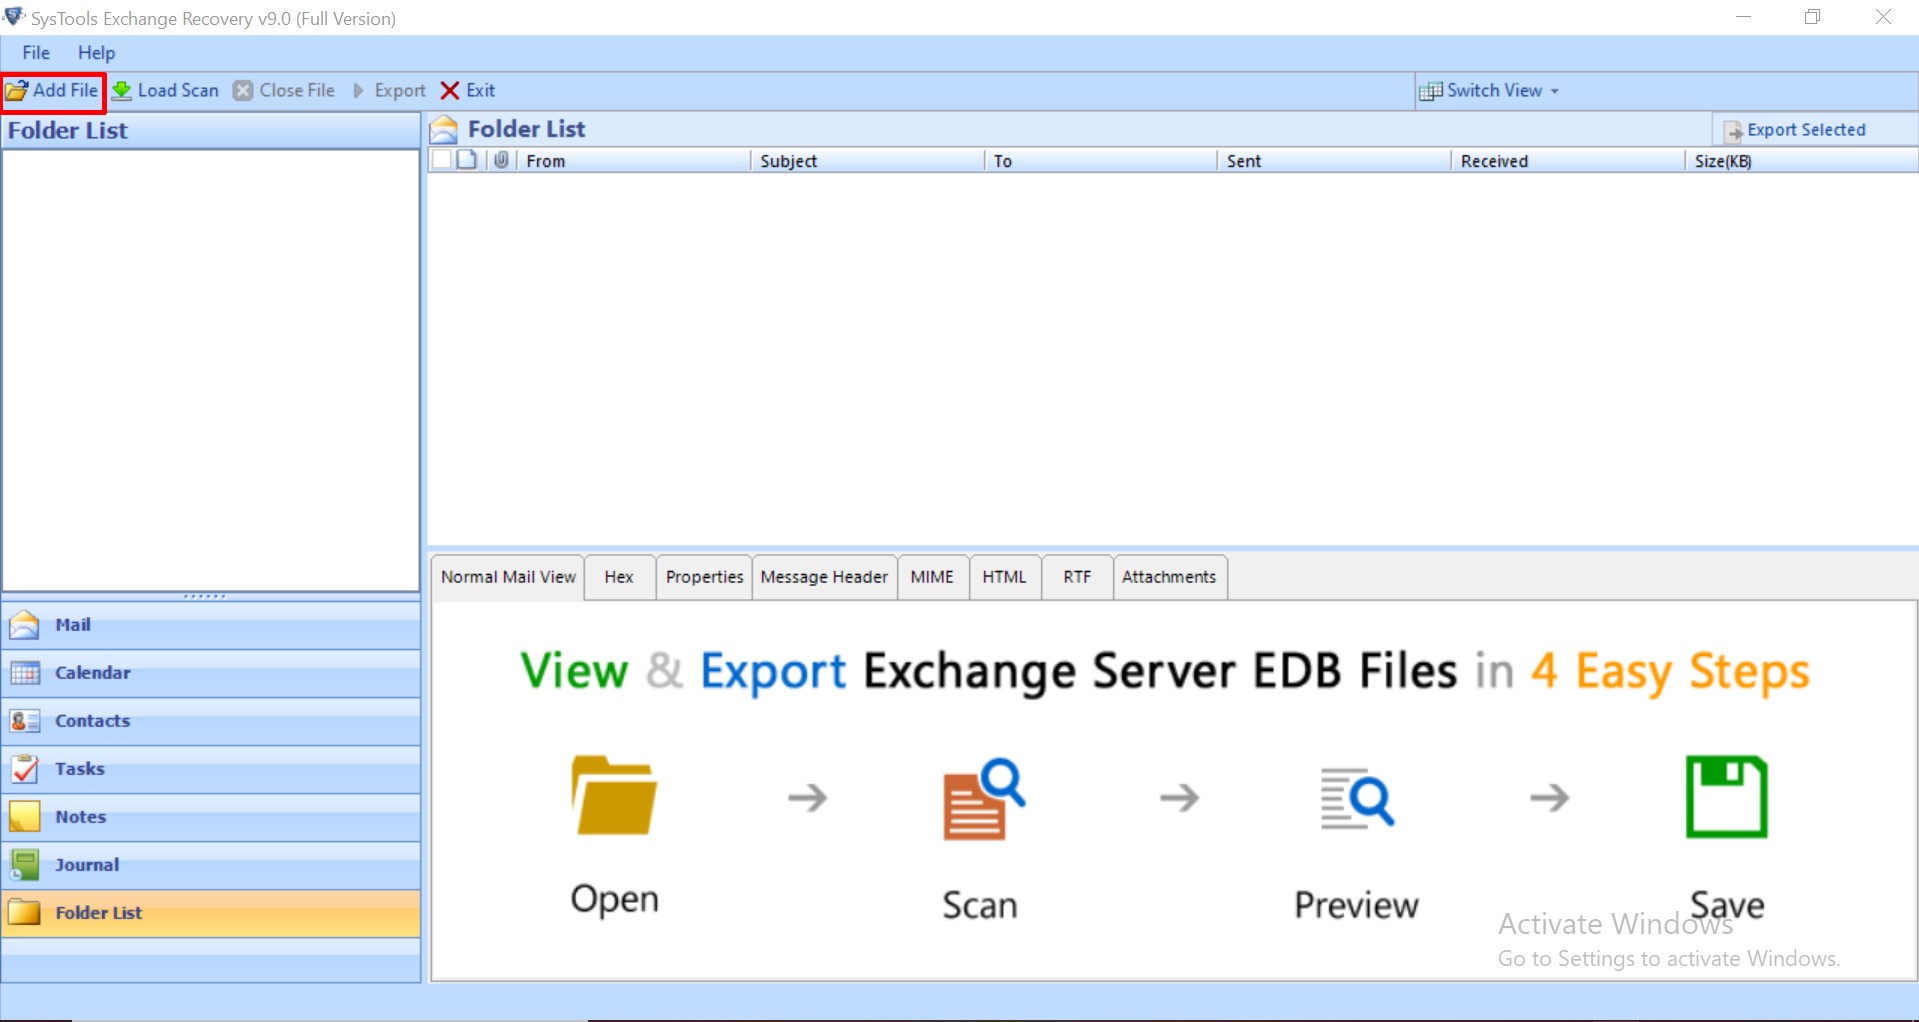
Step 2: Click on the Add File button > Load the Dismounted Exchange database file > Click on Add button
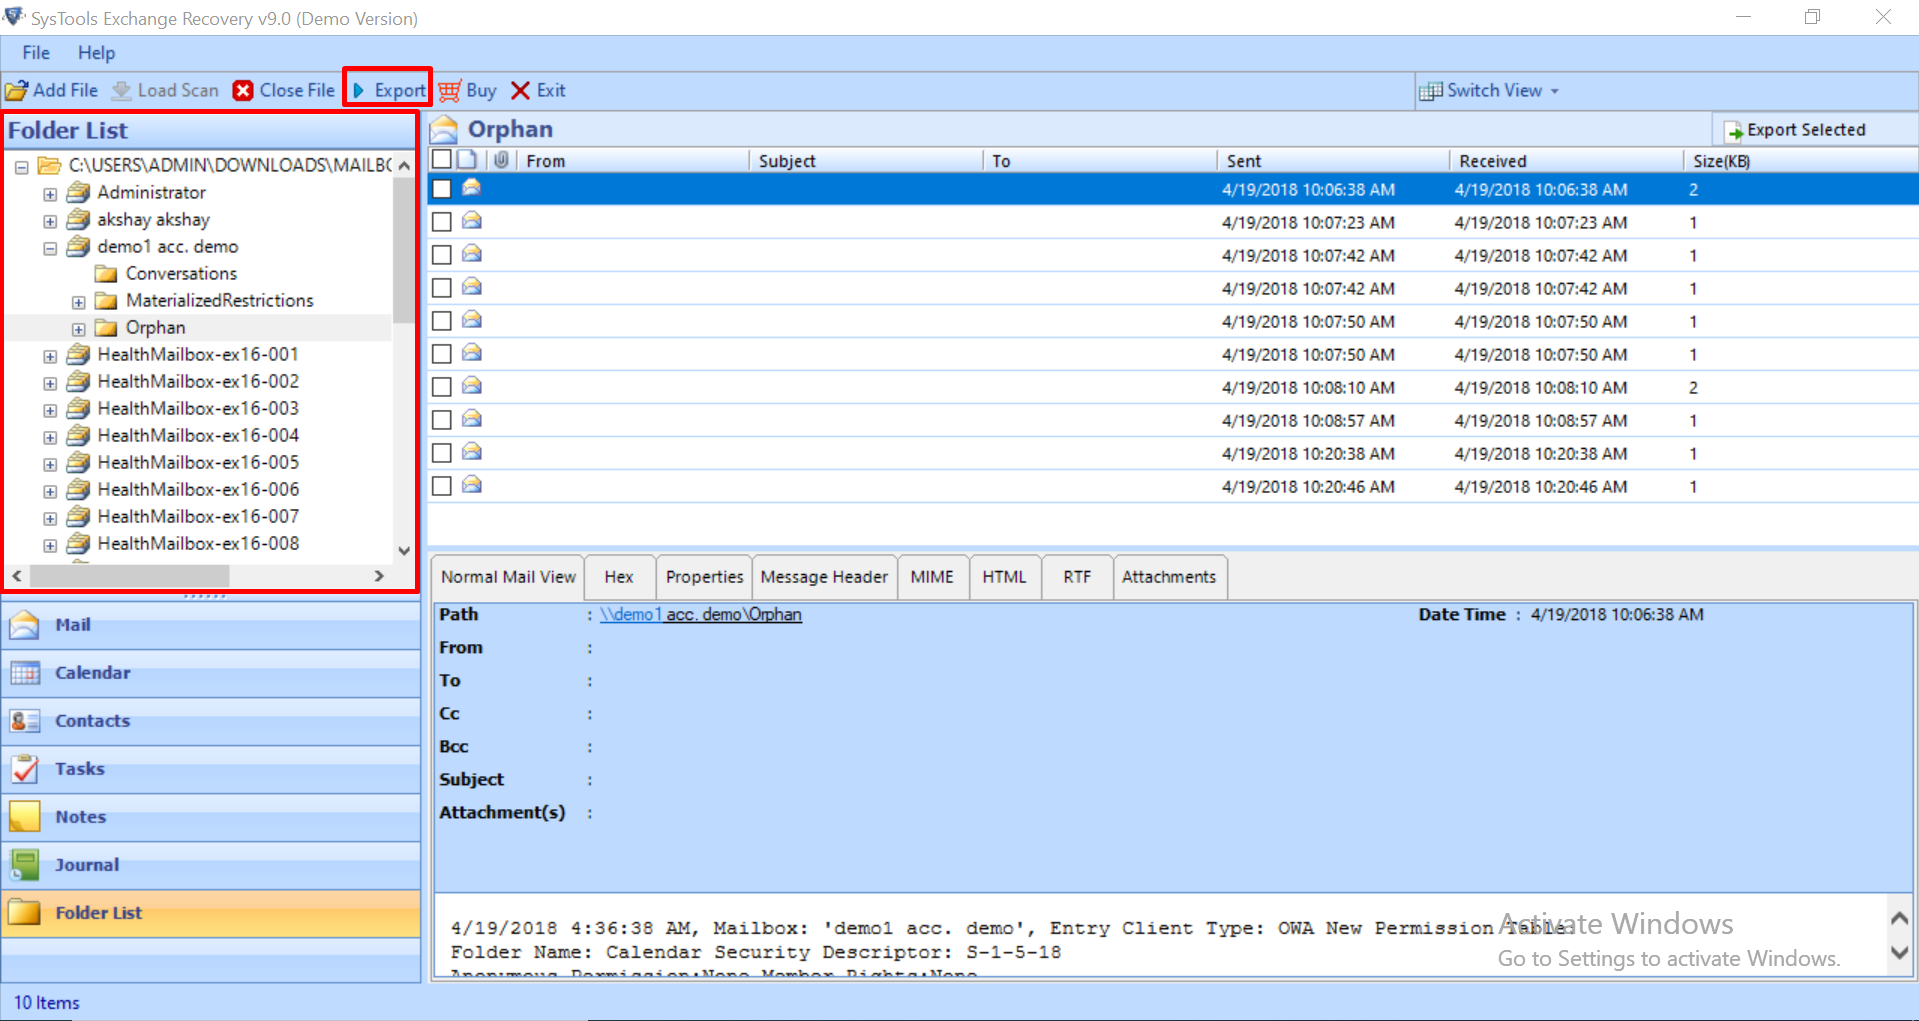
Step 3: Preview dismounted EDB file data > Click export
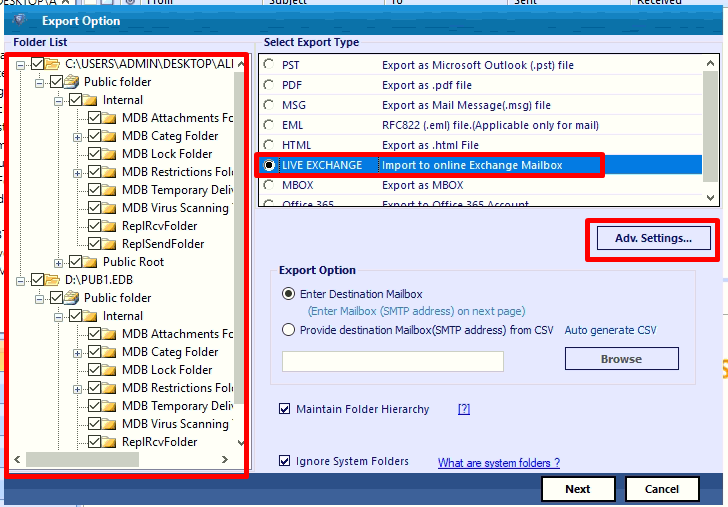
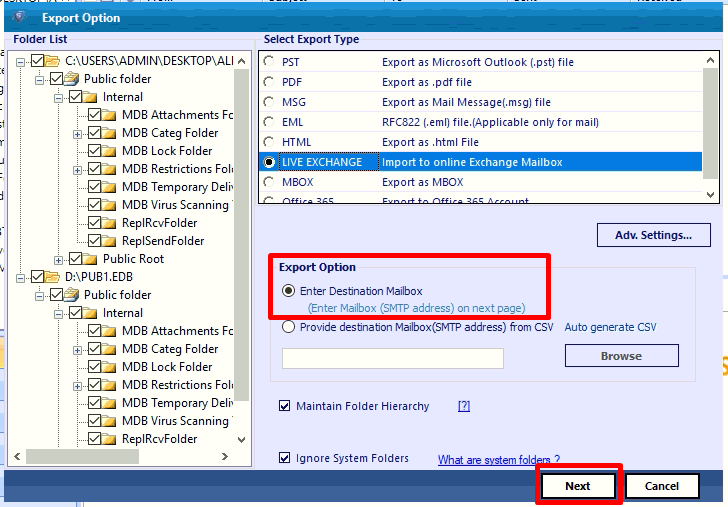
Step 4: Select the Exchange dismounted mailboxes > Click on Live Exchange Server as export option > Select the advance settings
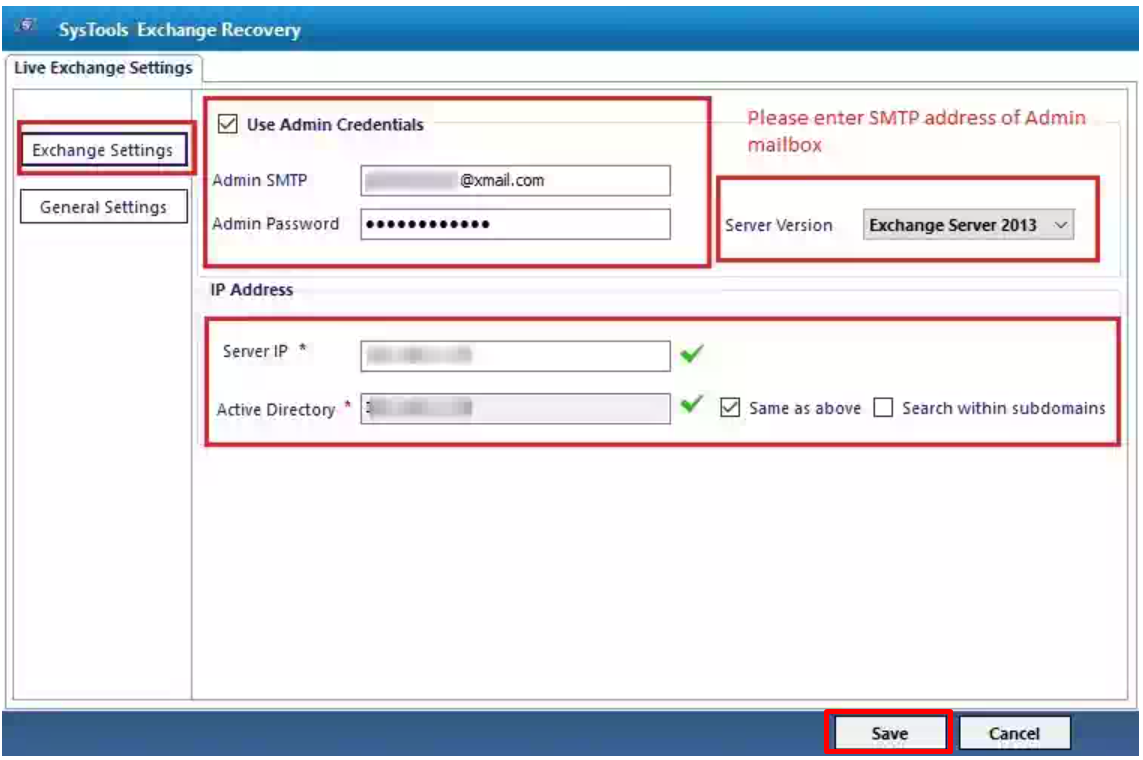
Step 5: Insert Exchange EDB credentials such as: Admin SMTP login and Password, IP Address > Select Exchange Server version > Click on the Save button
Step 6: Click the “Enter destination mailbox” radio button > Then, click on the next button
Step 7: The utility will validate the Exchange mailbox > Click on the export button

Finally, you mailboxes are successfully moved from dismounted Exchange database to the select Exchange Server version
Note: A user dismounted the database due to many reasons. But if the EDB file is inaccessible and cannot access your mailbox on the server then the file needs to be recovered.
Repair Corrupted Dismounted EDB File
1. Run /p command to repair the table if an internal page is deleted in the EDB file.
D:\Program Files\Exchsrvr\Bin>eseutil /p “D:\Exchsrvr\Mailbox Store (SERVER).edb”
2. Then run /d command to defragment the white spaces in the EDB file.
D:\Program Files\Exchsrvr\Bin>eseutil /d “D:\Exchsrvr\Mailbox Store (SERVER).edb”
3. Use Isinteg.exe to fix the logical numbering issue in the Exchange database. At last, your file is ready to mount and now you can access your mailboxes on the server.

Note: It is mandatory to create a backup file dismounted Exchange database before repairing the dismounted EDB file using this method. Otherwise, users will face huge data loss.
Pro Tip: You can use the Exchange database recovery tool to recover and repair minor and major corrupted dismounted/offline Exchange database file in a simplified way. Also, after recovery user can move mailbox from dismounted database to Live Exchange Server, Office 365, and multiple file formats in no time.
Some time the mounted Microsoft Exchange Database is unexpectedly dismounted. User can use the different way given in below section to mount the database.
Ways to Mount Exchange Database Of Exchange Server
There are two manual approaches through you can mount the database:
Approach 1: Use Exchange PowerShell Command
It is not possible to mount the database if these services aren’t met:
1. Exchange IS service is running
2. Exchange Replication service is running
Type the following PowerShell cmdlet:
Mount-Database-identity [-AcceptDataLoss][-Confirm[]][-DomainController][-Force][-WhatIf[]]
Approach 2: Use Exchange Admin Center (EAC)
Run New-EcpVirtualDirectory command in Exchange Management Shell to get the internal or external URL of the EAC. Type the following command to get the URL link:
Get-ECPVirtualDirectory | Format-List Name, Internal|URL,ExternalURL
- First, log in to EAC using the URL which is achieved by the above command.
- Click on Servers in the Feature pane and then click on the Databases tab.
- Now you can see the list of database. Select the database you want to mount on the server. Click on More button in the toolbar.
- At last, click on Mount button and wait for few moments. You will see that your database is mounted on the server.
Read More: How to Exchange Dirty Shutdown Error?
Wrapping Up
In this article, we have discussed the following methods to repair the corrupted EDB file and in Exchange 2013 move mailbox from dismounted database by using advanced solution. You can easily mount the mailboxes to the server from the offline backup in the hard drive using internal utilities available in Exchange itself. If the file is highly damaged and you are unable to move the mailbox database then you can select the professional solution as discussed here which helps you to repair highly corrupted EDB file and move Exchange mailboxes from dismounted database to another server without any loss of data in no time.